In Microsoft Office 365, the Ribbon isn’t for twirling! It’s the central hub for commands in all of the Office applications. It’s easy to find what you need, when you need it because related commands are conveniently grouped together. But one size does not fit all, so you can customize the Ribbon to fit your unique style!
To Customize the Ribbon, right click anywhere on it, and from the Context menu, choose Customize the Ribbon. We’ll walk you through how to do it in Excel, but this works in all of your Office 365 desktop applications.

Now the Customization begins!
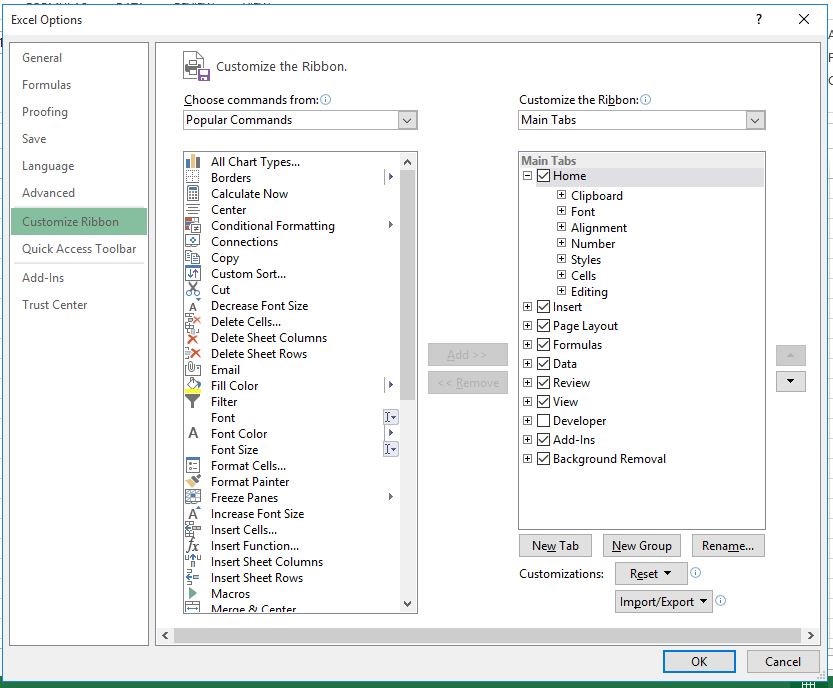
- The left-scrolling list box displays the commands you can add to the Ribbon. You can use the drop-down menu above this list to choose which commands to display.
- The right-scrolling list box displays the commands on the Ribbon in a “tree” format. Click the “+” and “–” signs next to the elements to collapse or expand the branches of the tree. You can use the drop-down menu above this list box to choose which tabs display.
Moving a command on the Ribbon
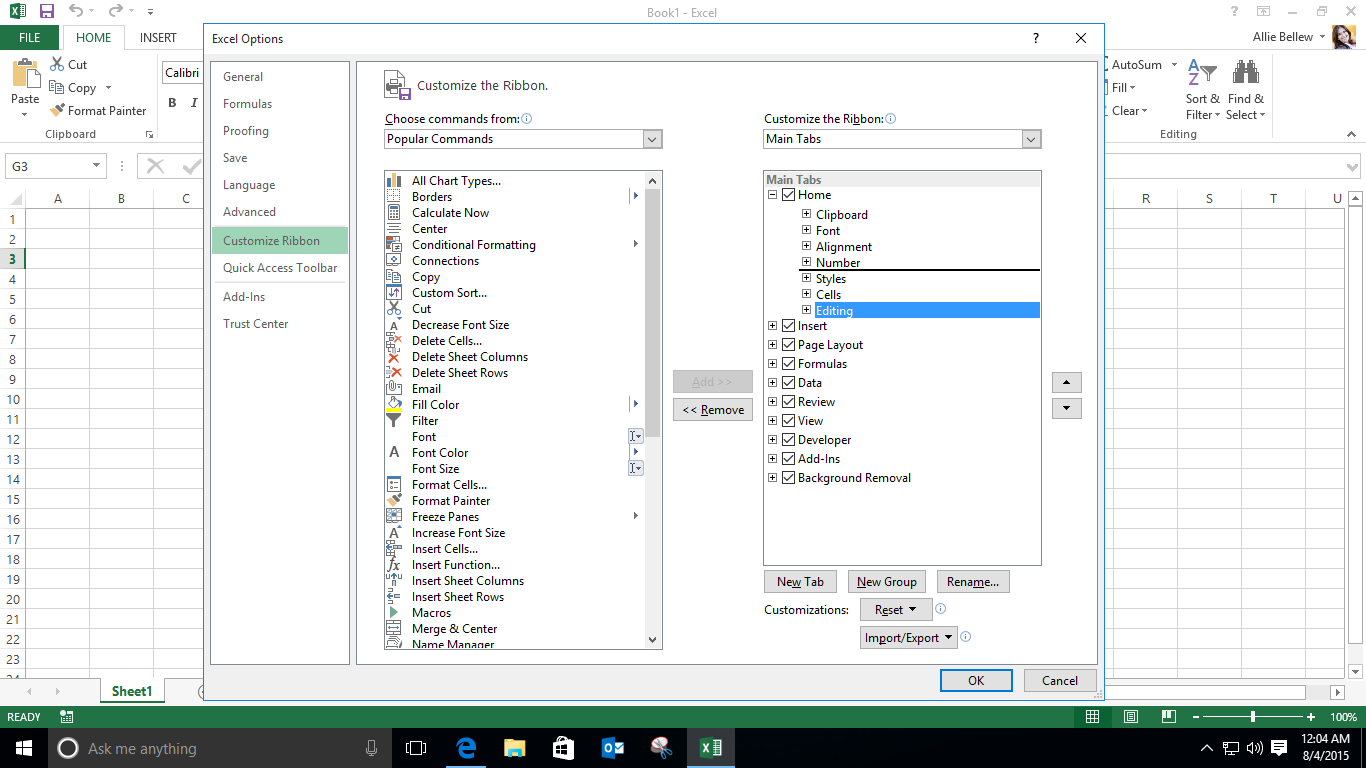
To move a command from the Ribbon to a different location, click it, then either drag it up or down with the mouse to move it to its new location. Or to the right of the list box, click the up-arrow and down-arrow buttons to move the item up or down by one position. These same rules apply to moving tabs and groups.

Adding or Removing a command from the Ribbon
First things first: you cannot remove or add any built-in commands or tabs from the Ribbon, but custom tabs are a different story.
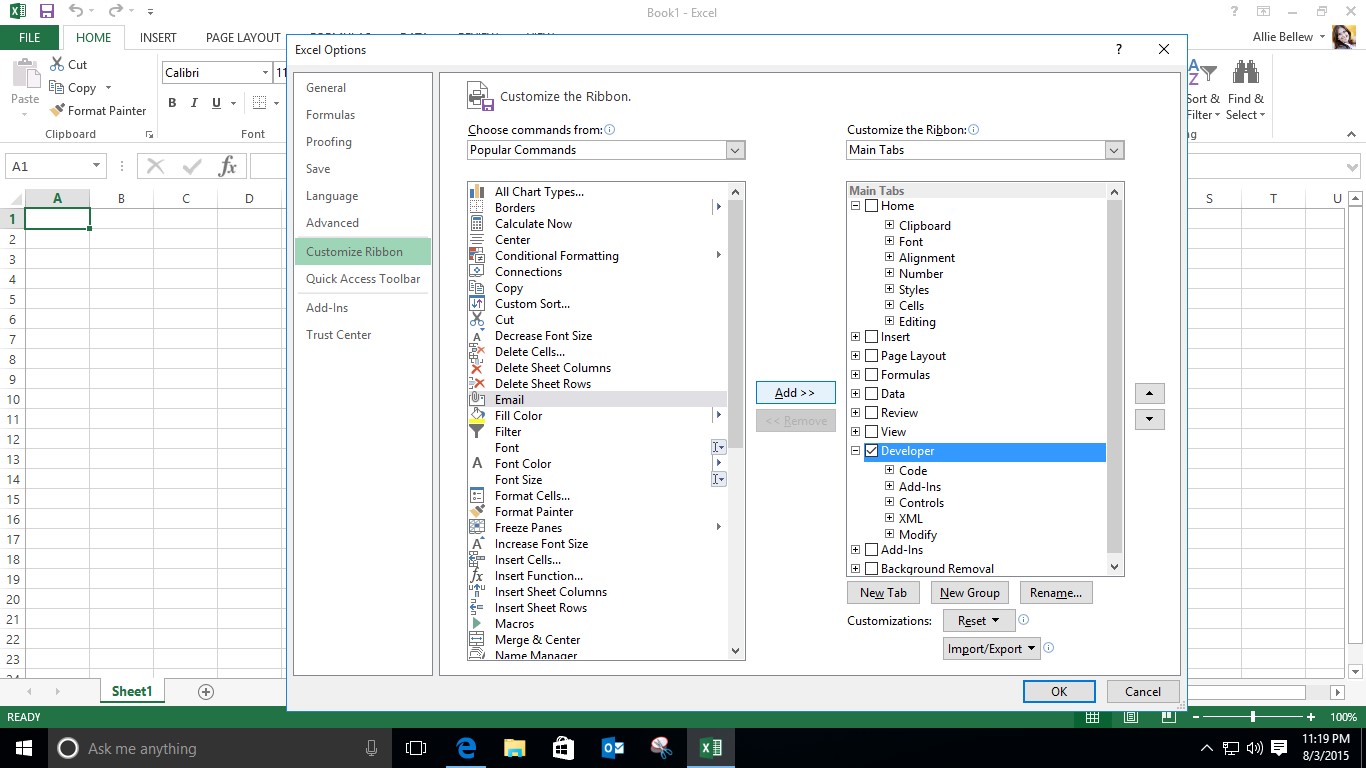
- To remove a command from the Ribbon, click it and then click the << Remove button between the two lists.
- To add a command, click a command in the left list box. Now in the right list box, select the position for the new command. Finally click the Add >> button between the two lists.

Creating a new tab or group
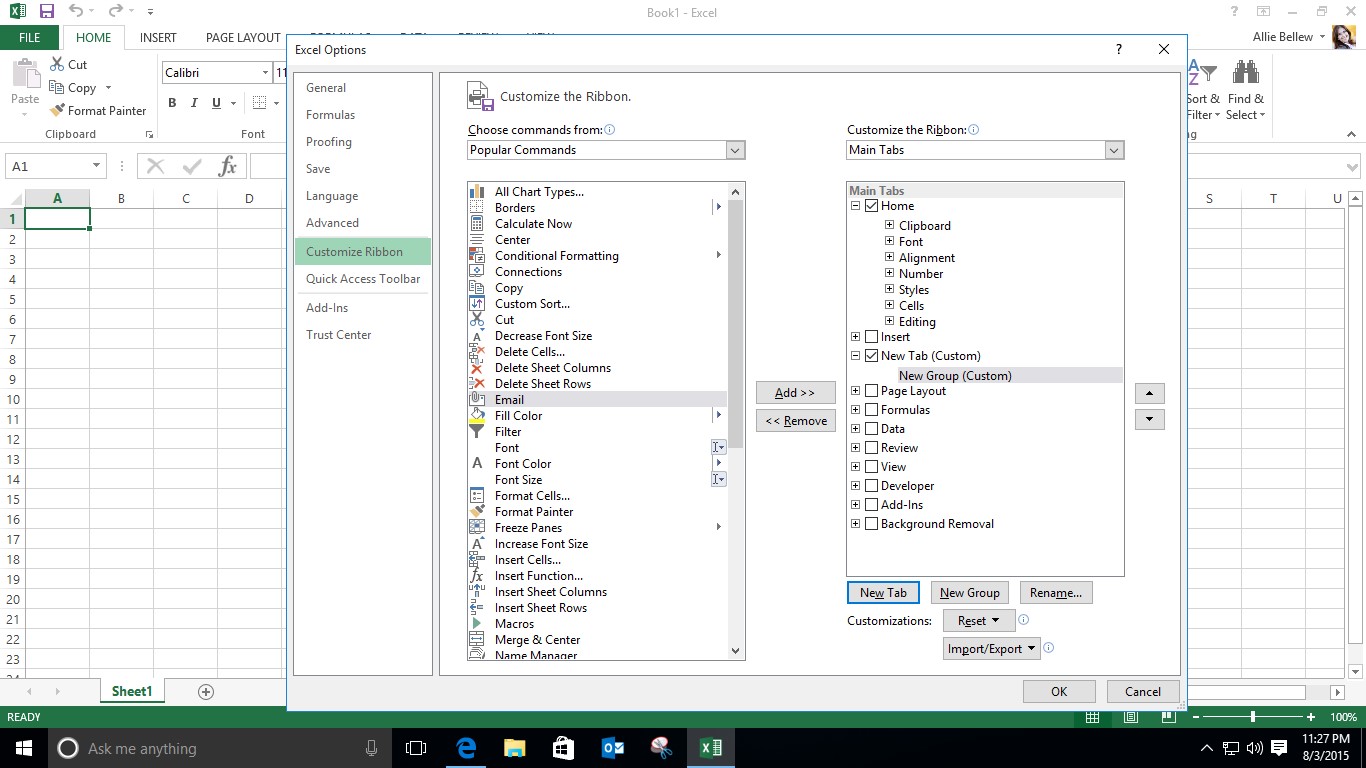
1. In the Customize the Ribbon list box, select the location where the tab or group will appear on the Ribbon.
2. Then below the list box, click the New Tab or New Group button.
3. New tabs and groups display as “New Tab (Custom)” or “New Group (Custom).” To rename your tab or group, right-click on it and choose Rename from the Context menu.

So if Conditional Formatting, Custom Sort, and Quick Print really get you excited, slap them on a custom tab, and create a Ribbon that helps you soar to new levels of efficiency in any Office 365 application.