If a picture is worth a thousand words, you can pack a visual verbal punch with OneNote 2016. Say more and add flair with pictures, graphics, and clipart featured in your notebook.
To add an image, click the Insert tab. In the Images group, you find three options: Screen Clipping, Pictures, and Online Pictures.

Each option offers unique perks. So let’s break it down:
Screen Clipping
Are there are times when you wish you could snap a picture of your screen and transfer it to your notebook? Well, you can. Simply click Screen Clippings, and OneNote will minimize so you can take a snapshot of your desktop. (Note: Before clicking Screen Clippings, make sure the appropriate windows are displaying on the desktop.)
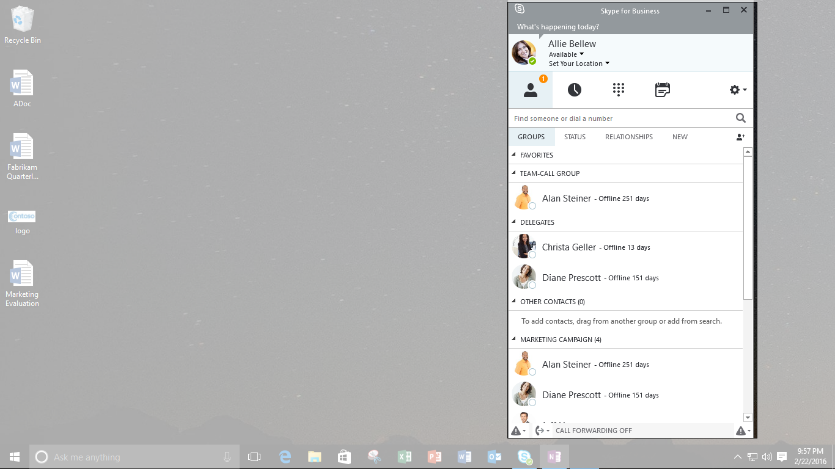
Select the portion of the screen you want to clip, then press ENTER. The Screen Clipping is placed in your notebook.
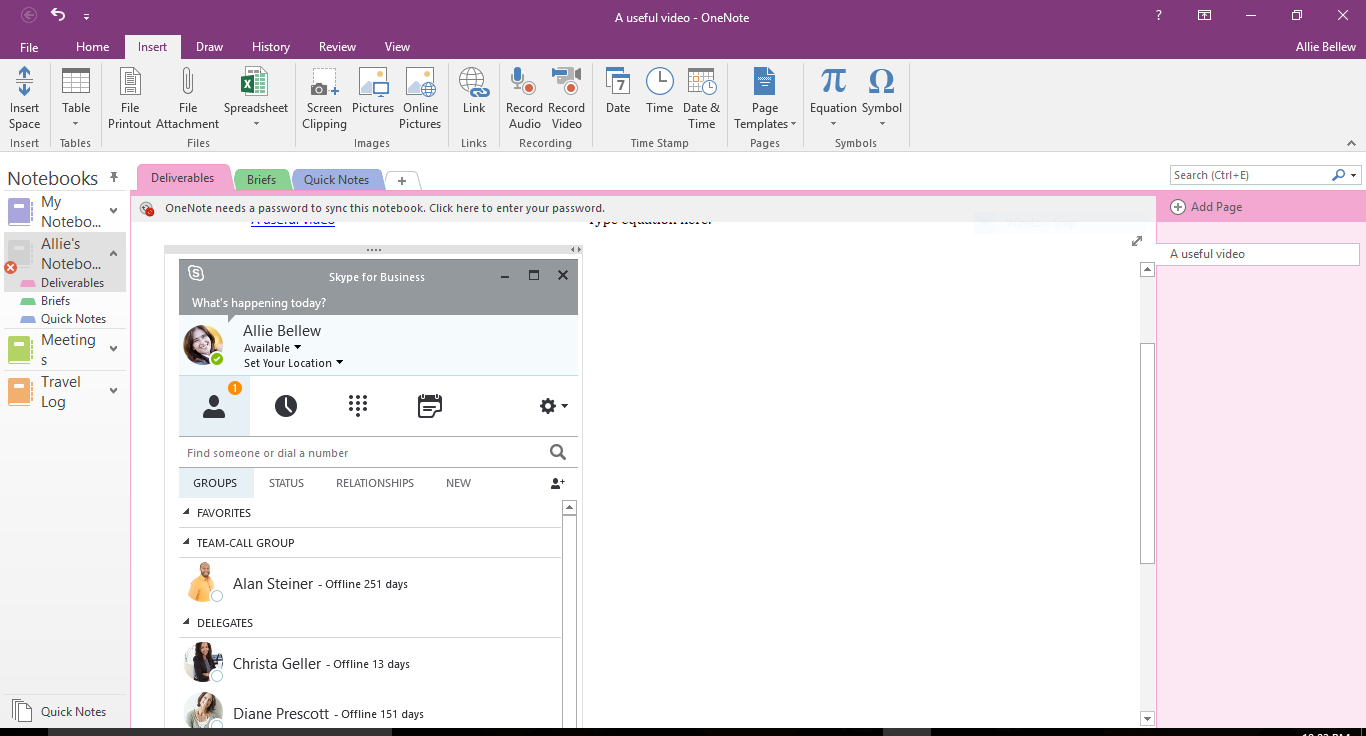
Pictures
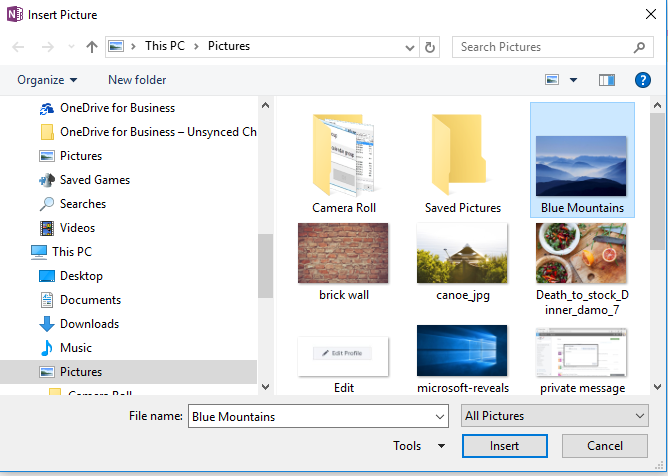
When you select Pictures. The Insert Picture dialog box displays all the files on your device. You select the file you want, and then click Insert.
Online Pictures
And last, but certainly not least, is the expansive world of online pictures. Click Online Pictures and you’ll be able to search for images to your heart’s content. You can even sign in with your Microsoft account to insert photos and videos from different websites, for example Facebook and Flikr.
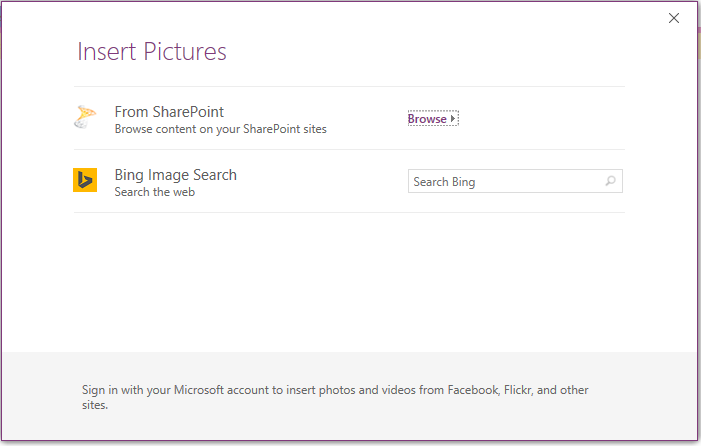
Now while we pick up those names we just dropped, it is important to note that not all images on the Internet are created equal. So be smart and avoid copyright laws by giving credit for the images.
After the Screen Clipping, Picture, or Online Picture is inserted in your notes, you can click it and use the selection handles that appear around the image to resize the picture. Make it big, or make it small.
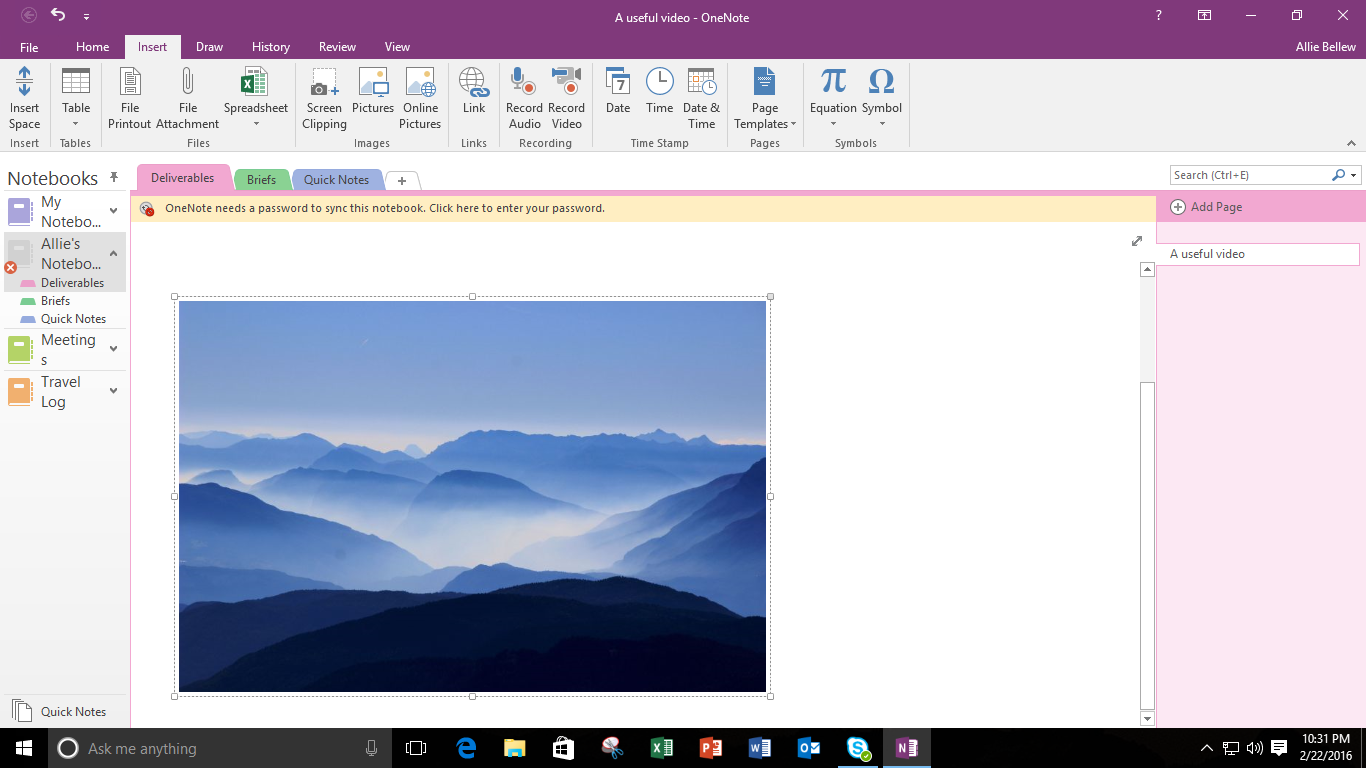
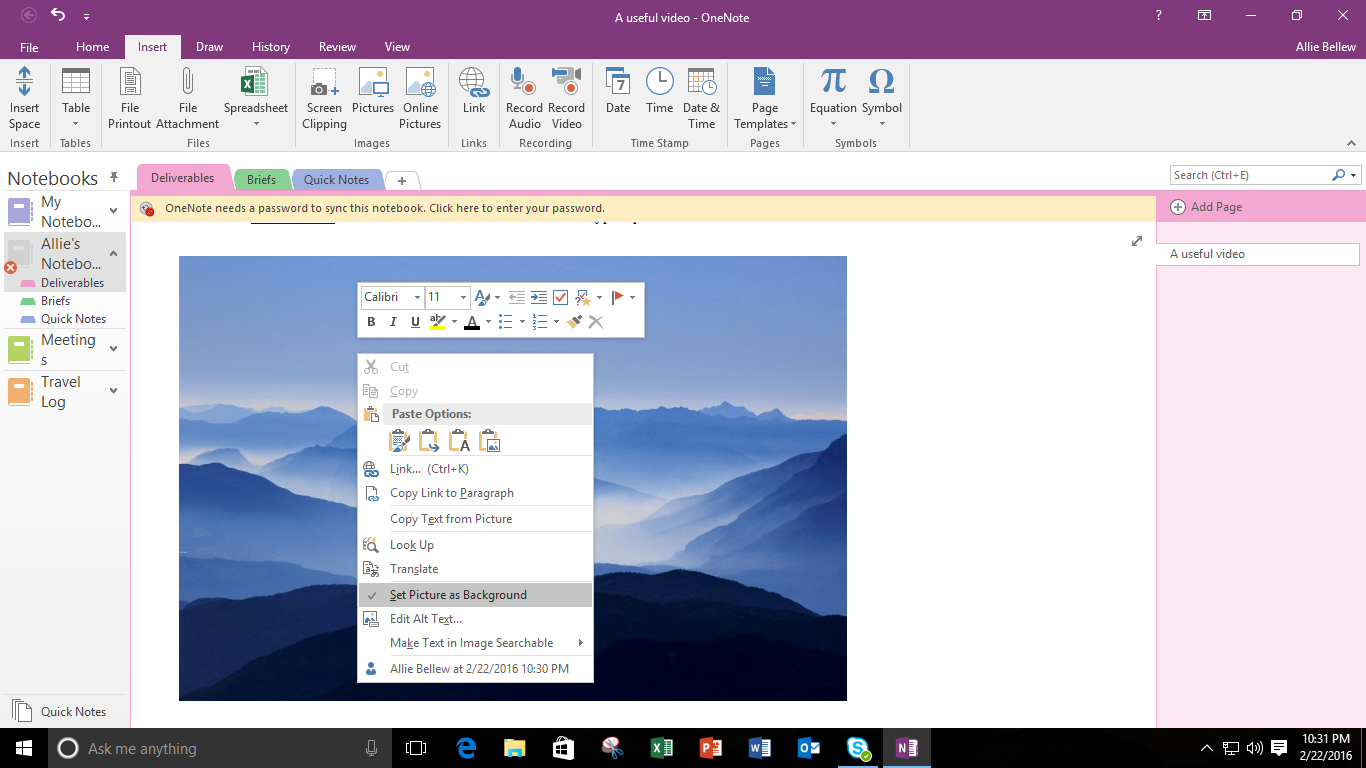
If you want to set it as a background image, drag the picture to where you want it to be, right-click it, and then click Set as Background.
Three ways to say more with images. Your notebook has never looked better.
